Oracle ACE Pro
Oracle Solution Architect
Oracle E-Business Suite
Oracle Cloud Infrastructure
Oracle Fusion Middleware
Oracle Database Administration
Oracle Weblogic Administration

Oracle ACE Pro
Oracle Solution Architect
Oracle E-Business Suite
Oracle Cloud Infrastructure
Oracle Fusion Middleware
Oracle Database Administration
Oracle Weblogic Administration
Oracle Access Manager

Oracle Fusion Middleware 12.2.1.4 Introduction
-
What is Oracle Fusion Middleware 12.2.1.4?
Oracle Fusion Middleware 12.2.1.4 is a set of software tools and services that help businesses build and run applications. It acts as a bridge between different systems, making it easier to connect, manage, and secure enterprise applications whether they are in the cloud, on-premises, or both.
-
What Does It Do?
- Develop Applications: Provides tools to create modern web, mobile, and enterprise applications.
- Integrate Systems: Connects different software and systems so they work together.
- Manage Content: Organizes documents and web portals for easy collaboration.
- Analyze Data: Includes tools to generate reports and make data-driven decisions.
- Secure Access: Manages user logins and permissions to protect sensitive information.
-
Key Components
- Oracle WebLogic Server: The foundation for running applications reliably and efficiently.
- Oracle SOA Suite: Helps combine services (like APIs) into workflows for seamless integration.
- Oracle WebCenter: Used to manage digital content and create user-friendly portals.
- Oracle Identity Management: Ensures secure user authentication and authorization.
- Oracle Business Intelligence (BI): Provides dashboards and reports for analyzing business performance.
-
Why Use It?
- Flexibility: It works in hybrid environments, combining cloud and on-premises systems.
- Scalability: Handles small applications to large, complex enterprise systems.
- Efficiency: Speeds up application development and deployment.
- Enhanced Security: Centralized tools protect apps and user data.
- Improved Integration: Makes different systems work as one unified solution.
-
Benefits for Businesses
- Reduces complexity by centralizing tools and systems.
- Increases productivity by automating workflows and simplifying integration.
- Provides actionable insights to make better decisions.
- Ensures systems remain secure and compliant.
Summary
Oracle Fusion Middleware 12.2.1.4 is a comprehensive platform designed to help businesses build, integrate, and secure applications while enabling advanced collaboration, analytics, and scalability. It’s ideal for organizations managing diverse IT systems in a hybrid environment.
Oracle Documentation To Be Used for FMW,OID,ODIP 12.2.1.4Ø Oracle Identity & Access Management Certification Matrix Oracle Fusion Middleware 12.2.1.4 Certification Matrix Ø Install Oracle Fusion Middleware Infrastructure Oracle Fusion Middleware 12.2.1.4 Ø Installing and Configuring the Oracle Access Management Software ORACLE ACCESS MANGER 12.2.1.4 |
FMW Infrastructure Installation
1 Create OAM Operating System User
| [root@oamserver ~]# useradd -g oinstall -G dba -d /home/oammgr -m -s /bin/bash oammgr
[root@oamserver ~]# passwd oammgr Changing password for user oammgr. New password: Retype new password: passwd: all authentication tokens updated successfully. [root@oamserver ~]# [root@oamserver u02]# chown -R oammgr:oinstall /u02 |
2. Untar the JDK
| [oammgr@oamserver u02]$ tar -xvzf jdk-8u361-linux-x64.tar.gz [oammgr@oamserver ~]$ cd /u02/jdk1.8.0_361/bin |
3. Unzip the FMW12.2.1.4
| [oammgr@oamserver fmw_infrastructure]$ ll total 1597388 -rwxrwxrwx. 1 oammgr oinstall 1635717400 Nov 17 22:35 V998828-01.zip [oammgr@oamserver fmw_infrastructure]$ unzip -qo V998828-01.zip [oammgr@oamserver fmw_infrastructure]$ ll total 3195068 -r-xr-xr-x. 1 oammgr oinstall 1636007590 Sep 13 2019 fmw_12.2.1.4.0_infrastructure.jar -rw-r–r–. 1 oammgr oinstall 10185 Sep 16 2019 fmw_12214_readme.html -rwxrwxrwx. 1 oammgr oinstall 1635717400 Nov 17 22:35 V998828-01.zip |
4. Running Installer FMW12.2.1.4
The 12c installation starts with the common infrastructure which contains Weblogic, the RCU, and other common components.
Start the installation with the command ‘java -jar fmw_12.2.1.4.0_infrastructure.jar for version 12.2.1.4.
| [oammgr@oamserver ~]$ cd /u02/jdk1.8.0_361/bin/ [oammgr@oamserver bin]$ export DISPLAY=192.168.1.123:0.0 [oammgr@oamserver bin]$ ./java -jar /u02/fmw_infrastructure/fmw_12.2.1.4.0_infrastructure.jar |

Click Next

- Click Skip Auto Updates
- Click Next

- On this step, set the value for ORACLE_HOME, which is to be the location of core installed files.
- Click Next

- For the next step leave the ‘FUSION MIDDLEWARE INFRASTRUCTURE‘ selected.
- Click Next

- Click Next

- Verify the settings on the Installation Summary screen.
- To change entries, Click BACK on the pertinent screen.
- Once satisfied with the settings, click the INSTALL button to begin the installation.

- Installation Started

- Click Next

- Click Finish

Oracle Database 19c Installation on OEL 8.10
Operating System Setup
1. For Automatic Setup of Operating System Packages and Parameters, Run the following command with Root user
[root@oidserver ~]# dnf install -y oracle-database-preinstall-19c
| If you are using RHEL8 or CentOS8, you can pick up the RPM from the OL8 repository and install it. It will pull the dependencies from your normal repositories.
curl -o oracle-database-preinstall-19c-1.0-2.el8.x86_64.rpm https://yum.oracle.com/repo/OracleLinux/OL8/appstream/x86_64/getPackage/oracle-database-preinstall-19c-1.0-2.el8.x86_64.rpm dnf -y localinstall oracle-database-preinstall-19c-1.0-2.el8.x86_64.rpm |
2. Set the password for the “oracle” user.
[root@oamserver ~]# passwd oracle
3. Set secure Linux to permissive by editing the “/etc/selinux/config” file, making sure the SELINUX flag is set as follows.
SELINUX=permissive
4. Once the change is complete, restart the server or run the following command.
[root@oamserver ~]# setenforce Permissive
5. Once the change is complete, restart the server or run the following command.
If you have the Linux firewall enabled, you will need to disable or configure it. To disable it, do the following.
# systemctl stop firewalld

# systemctl disable firewalld
6. Create the directories in which the Oracle software will be installed.
[root@oamserver ~]# mkdir -p /u01/app/oracle/product/19.0.0/dbhome_1
[root@oamserver ~]# chown -R oracle:oinstall /u01/app
[root@oamserver ~]# chmod -R 775 /u01
7. Create an Environment Variable file for the Oracle Database on the Oracle User Home Directory
| [oracle@oamserver ~]$ vi setEnv.sh
# Oracle Settings export ORACLE_HOSTNAME=oidserver.com export PATH=/usr/sbin:/usr/local/bin:$PATH export LD_LIBRARY_PATH=$ORACLE_HOME/lib:/lib:/usr/lib |
8. Unzip Software Binaries
Copy the Downloaded Database 19c Zip (V982063-01.zip) file on the /u01/app/oracle/product/19.0.0/dbhome_1 Directory
[oracle@oamserver ~]$ cd /u01/app/oracle/product/19.0.0/dbhome_1
[oracle@oamserver dbhome_1]$ unzip -oq V982063-01.zip
Running Database Installer
| [oracle@oamserver dbhome_1]$ export DISPLAY=192.168.1.124:0.0 [oracle@oamserver dbhome_1]$ export CV_ASSUME_DISTID=OEL7.8 [oracle@oamserver dbhome_1]$ ./runInstaller The response file for this session can be found at: You can find the log of this install session at: |
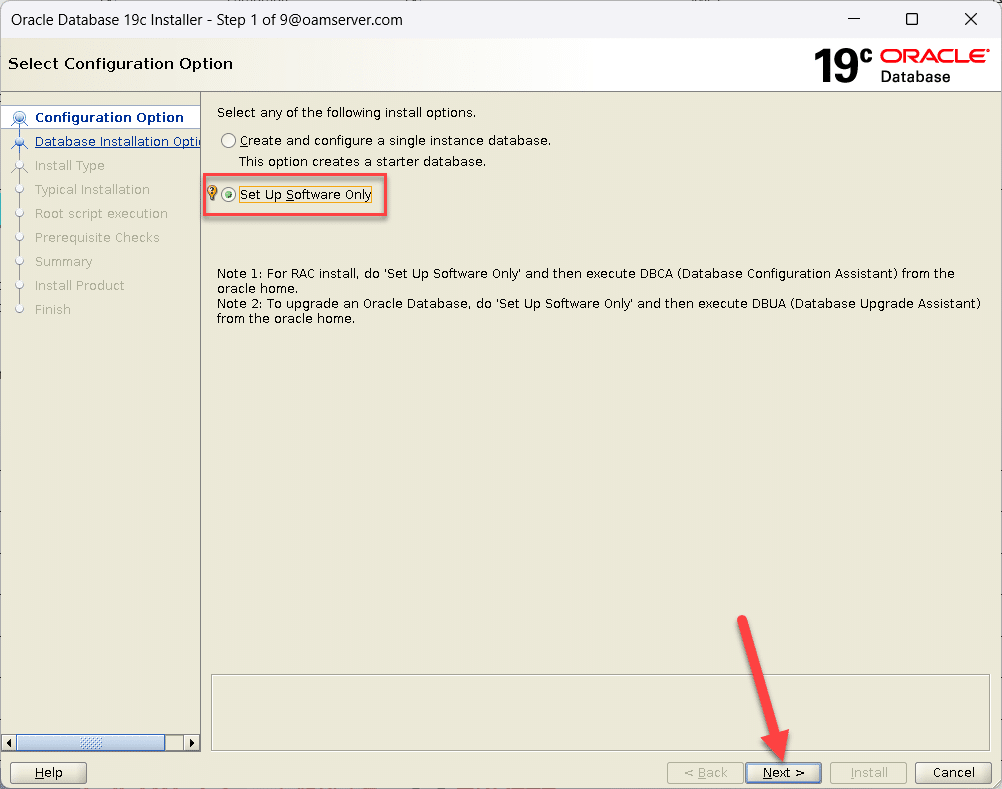
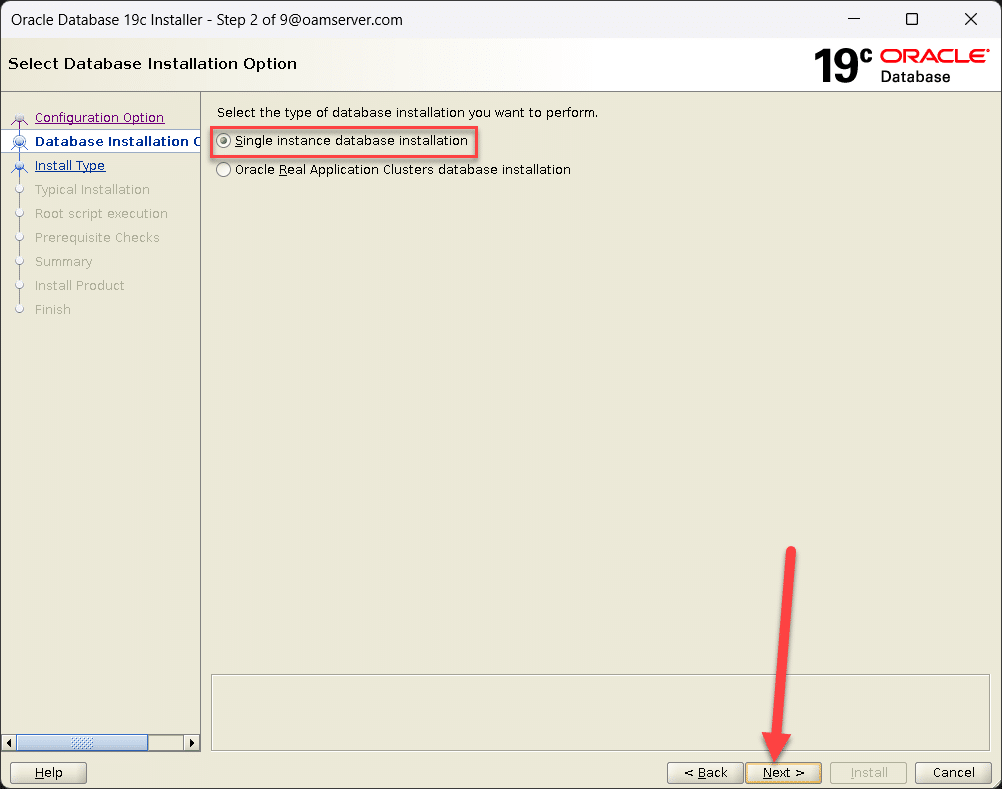
| Select Single Instance Database Installation
Click Next |
 |
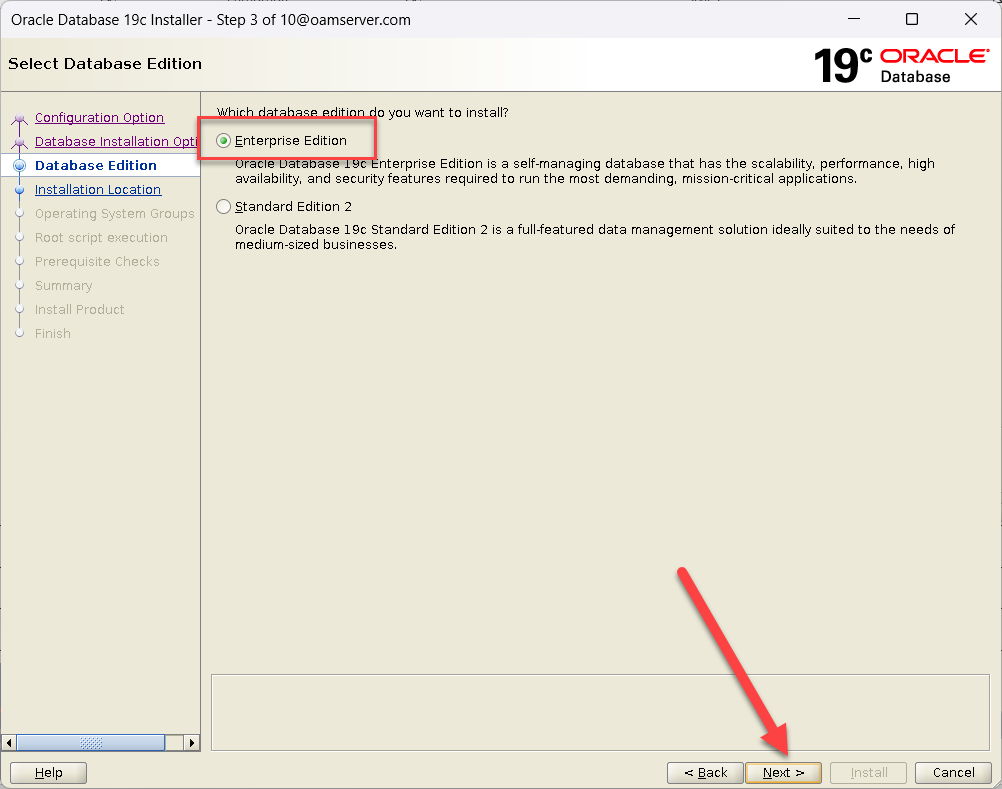
| Select Enterprise Edition
Click Next |
 |
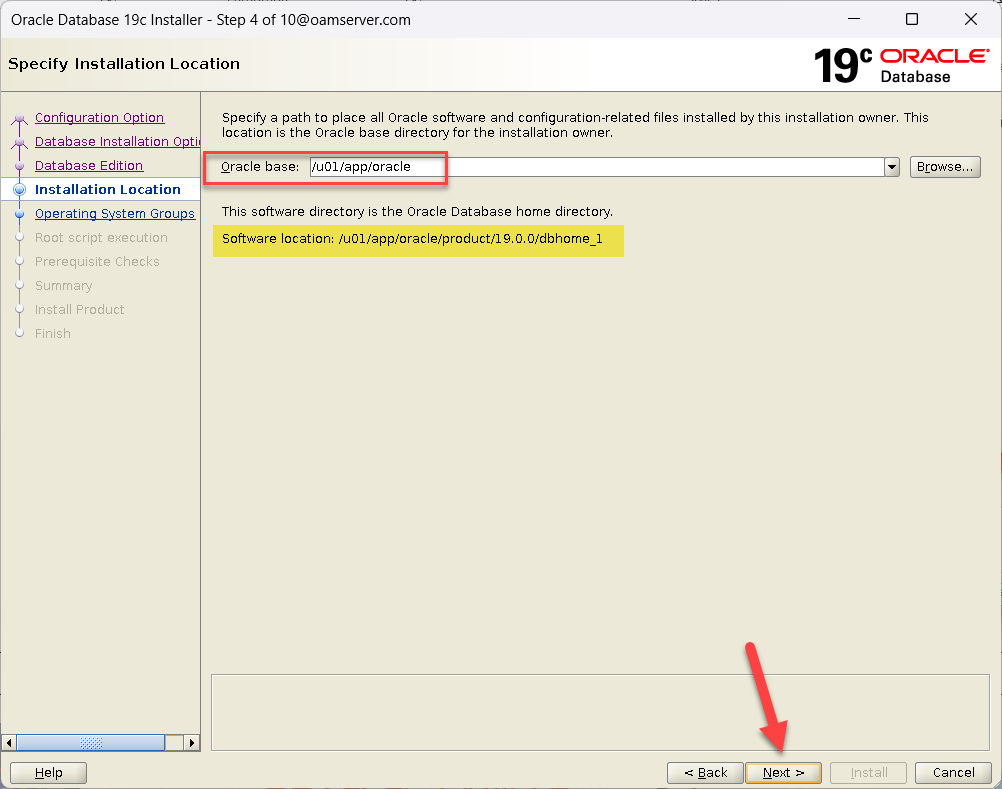
| Confirm Oracle Base Location
Click Next |
 |
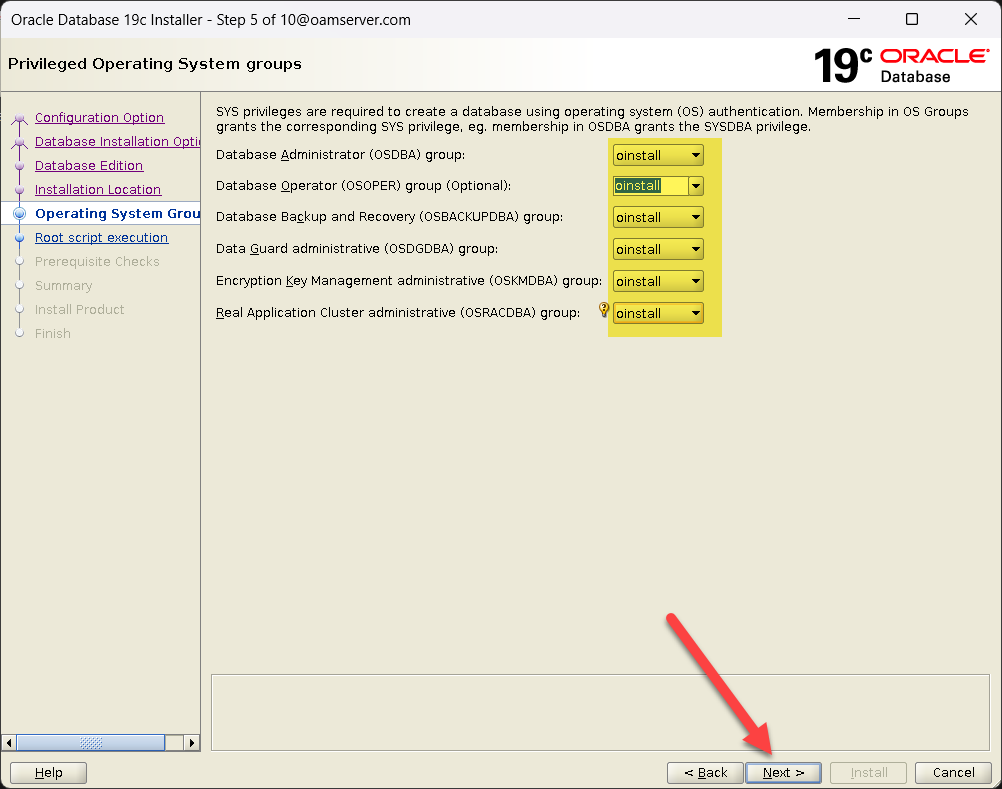
| Select Database Administration Groups
Click Next |
 |
| Click Next | 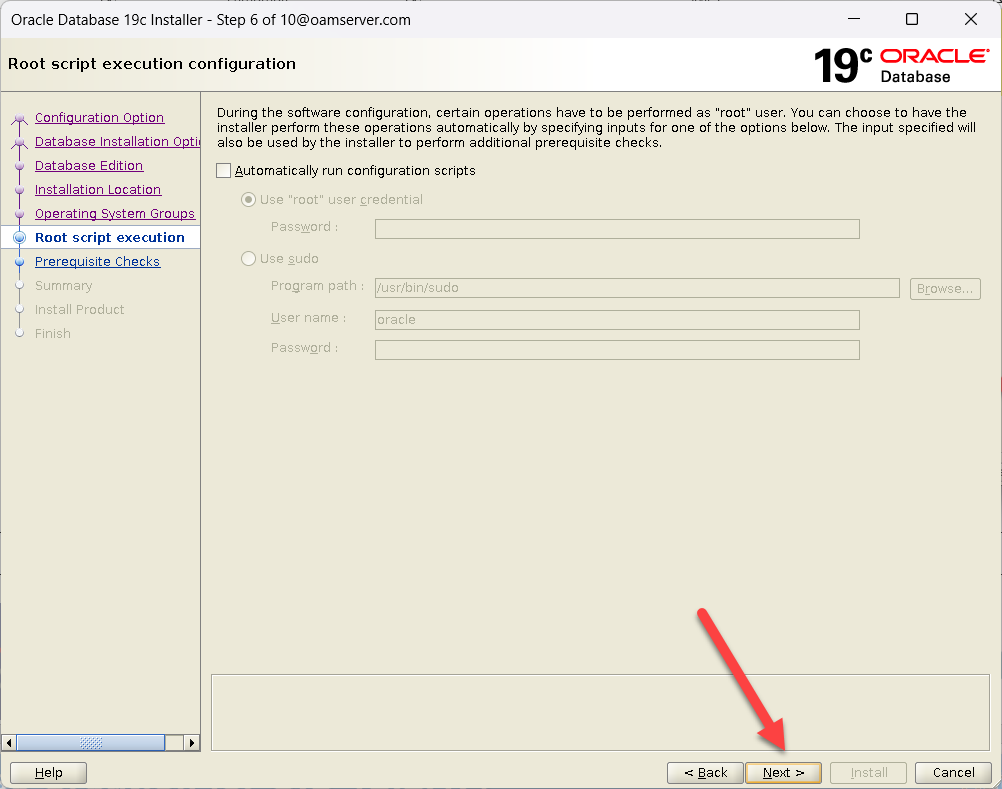 |
| Click Install | 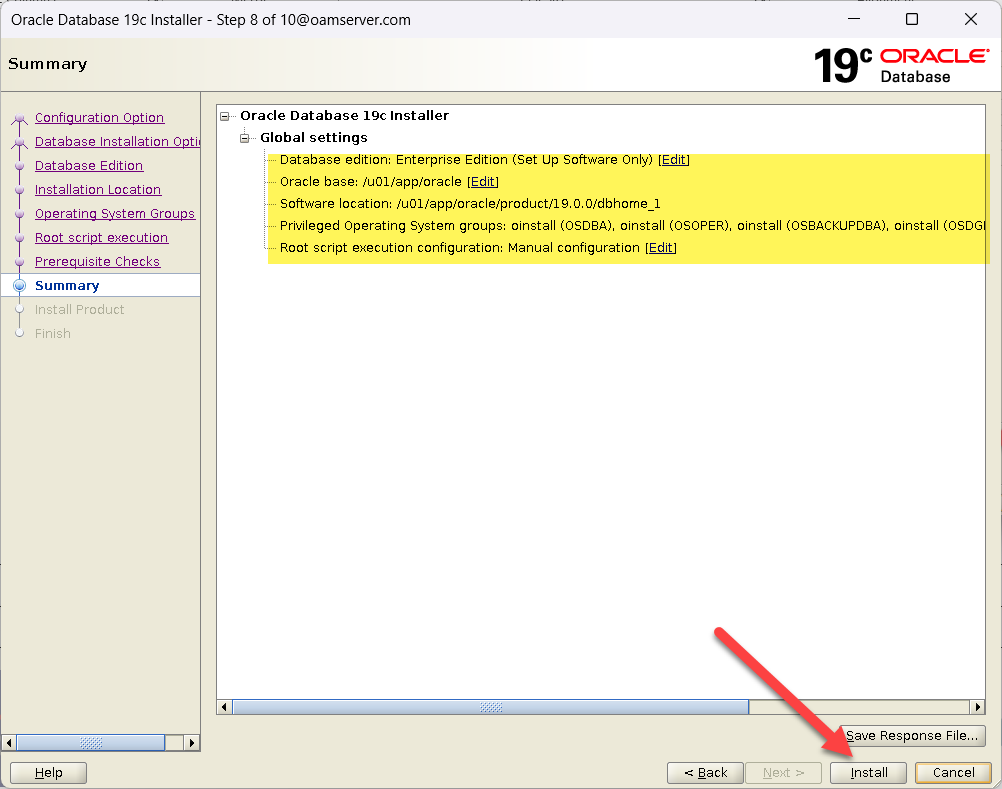 |
| Installation Started | 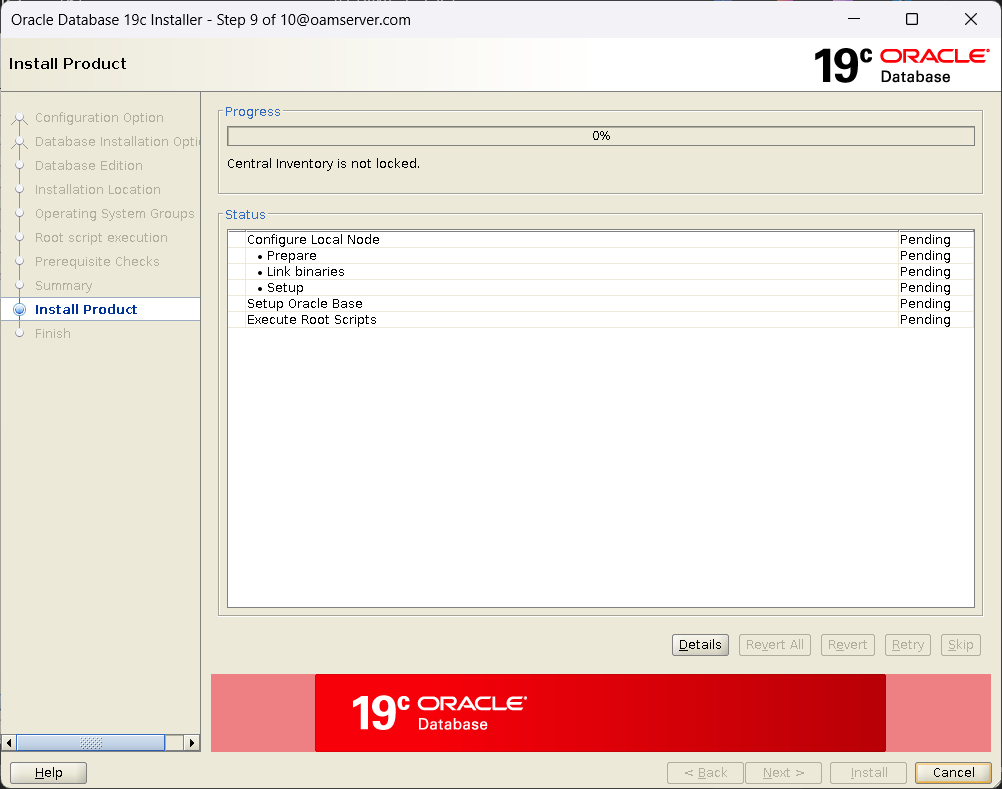 |
| Run the Script with Root User
[root@oidserver ~]# /u01/app/oracle/product/19.0.0/dbhome_1/root.sh Click OK |
 |
| Click Close | 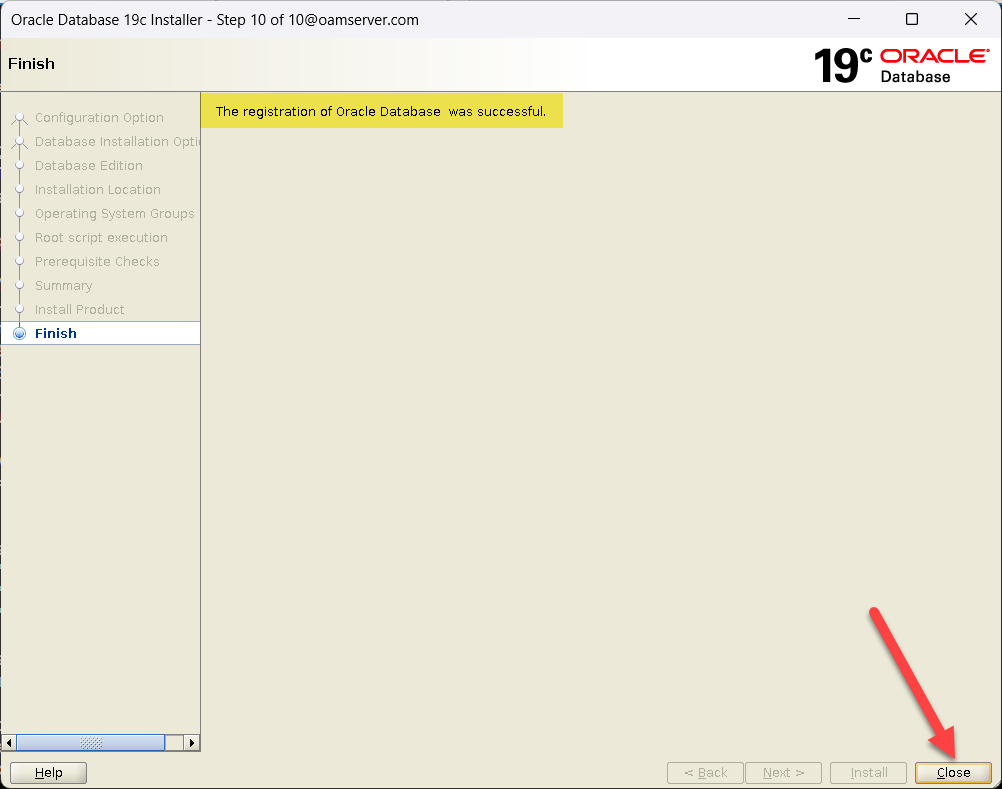 |
Database Creation through DBCA |
|
| [oracle@oamserver ~]$ . ./setEnv.sh
[oracle@oamserver ~]$ dbca |
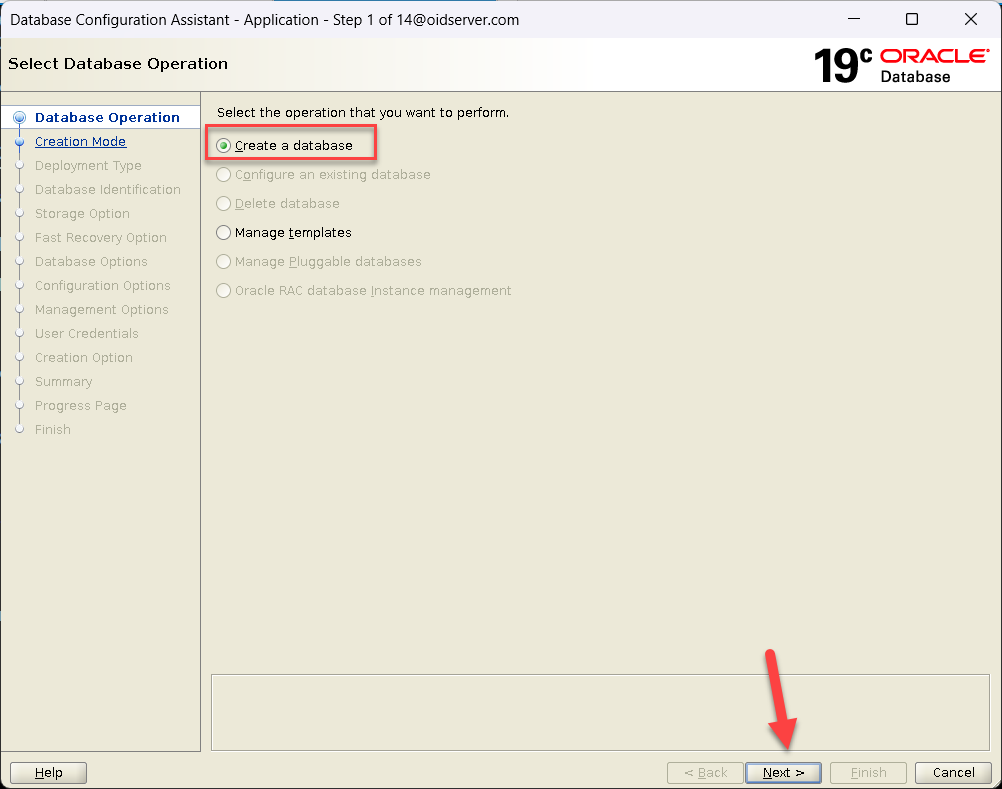 |
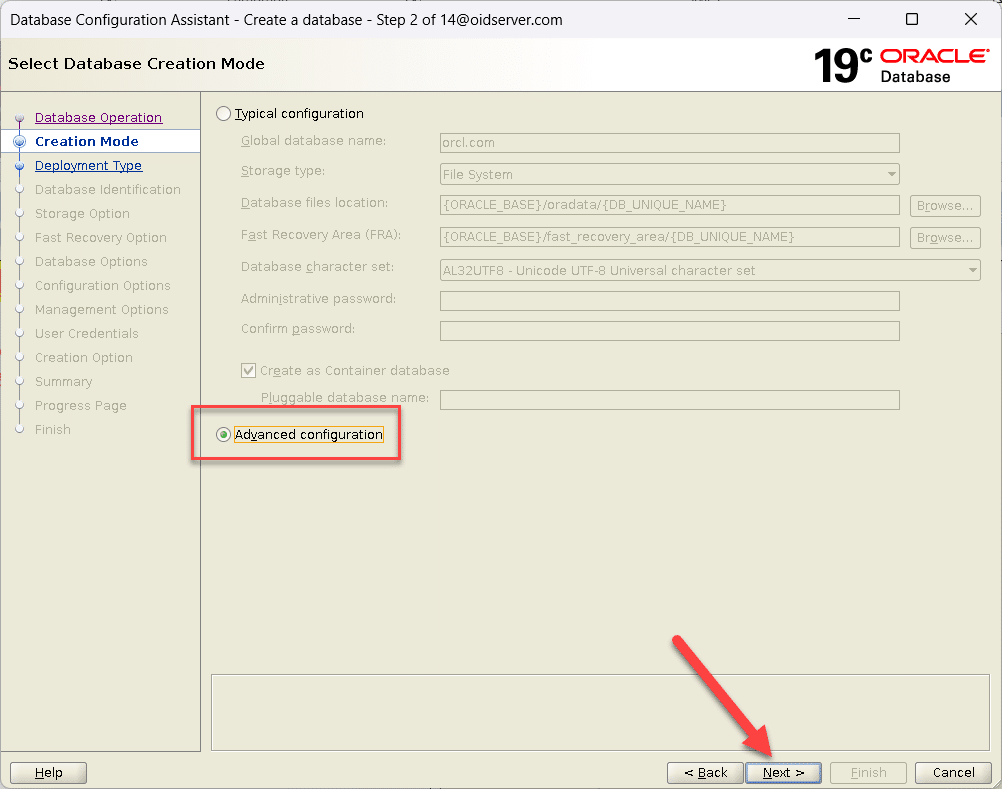
| Select Advanced Configuration
Click Next |
 |
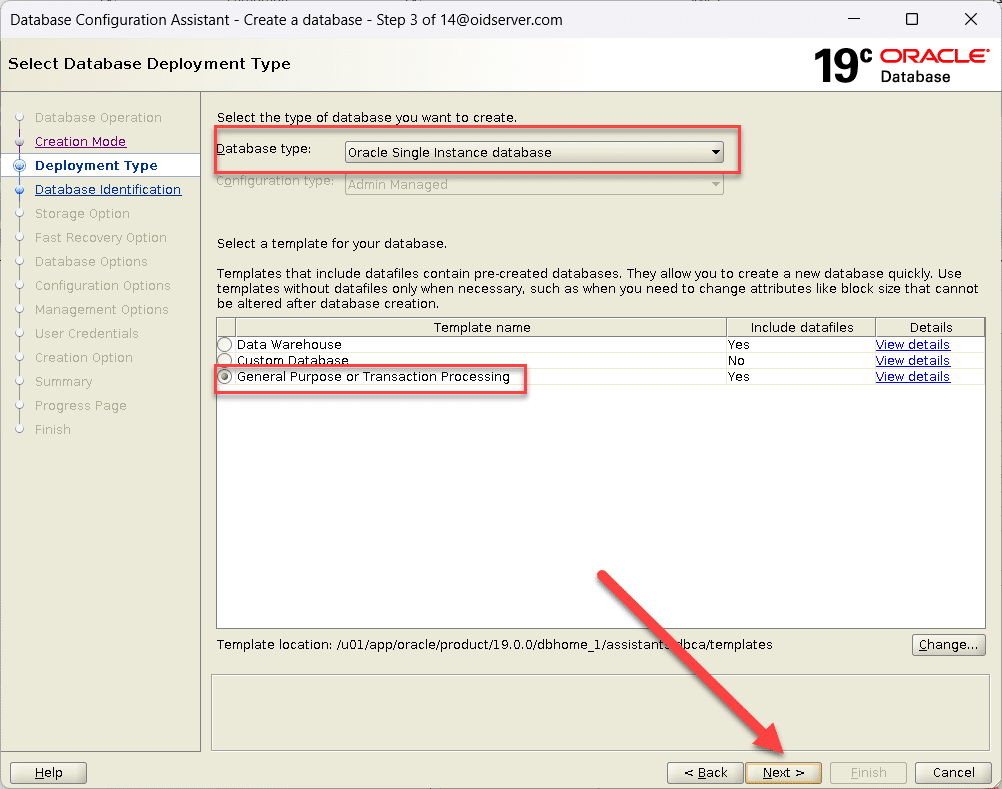
| Select Oracle Single Instance database
Select Template Name General Purpose or TransactionProcessing Click Next |
 |
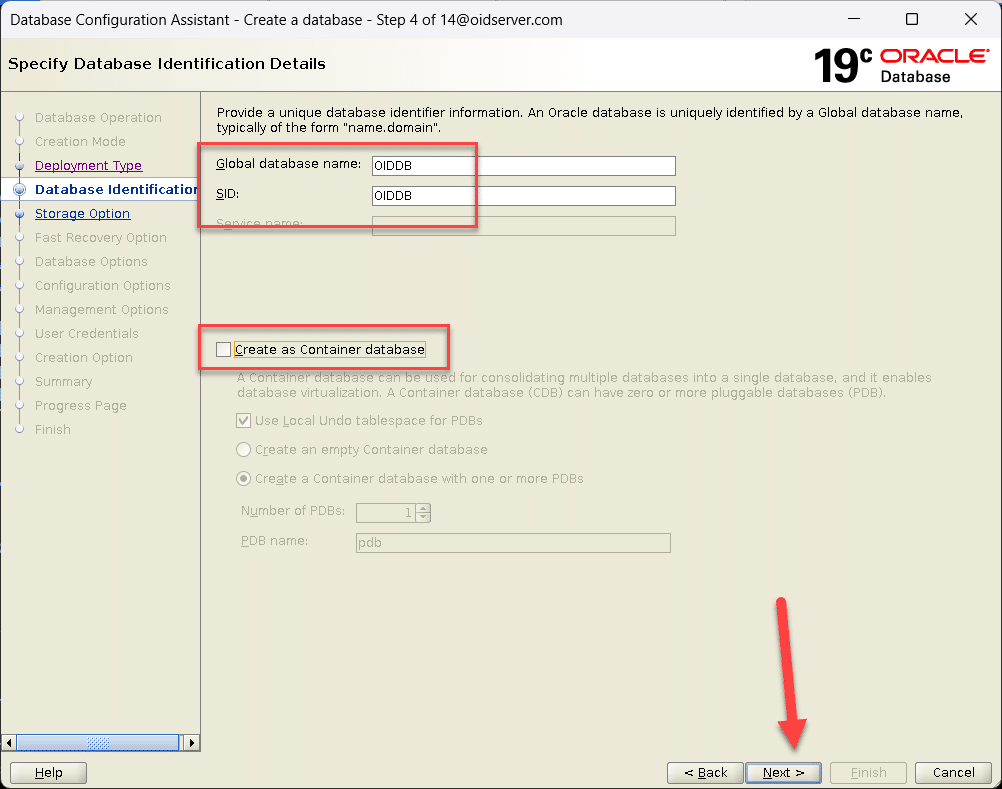
| Enter Global Database name and SID
Uncheck Option Create as Container database Click Next |
 |
| Click Next | 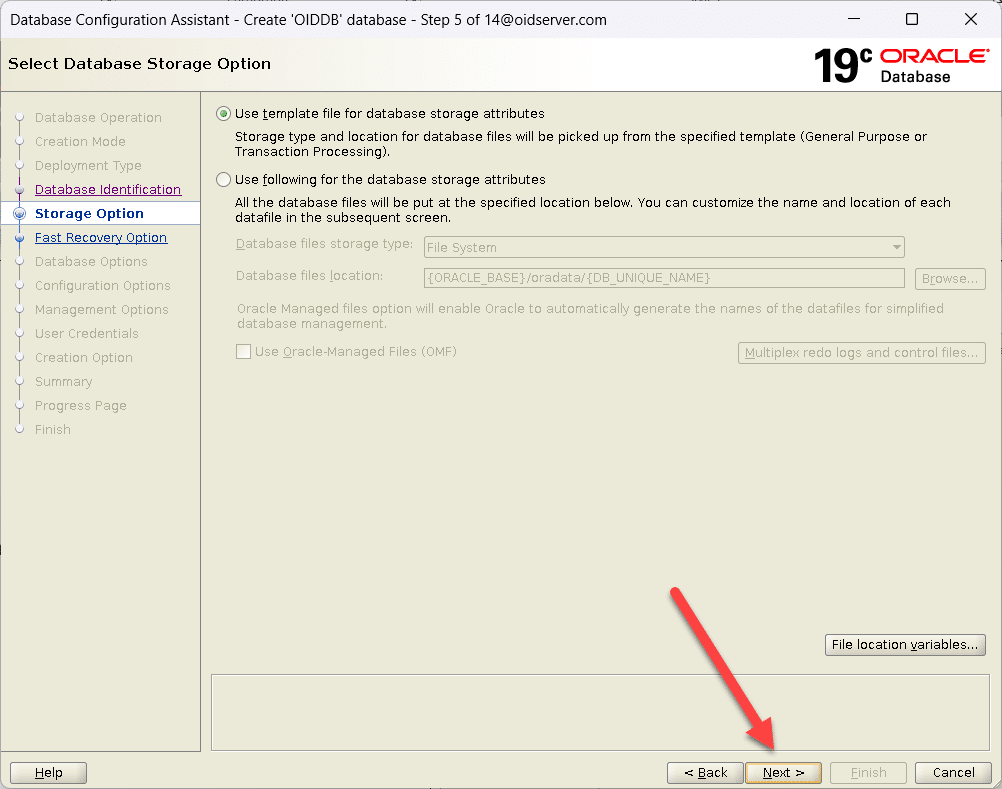 |
| Click Next |  |
| Click Next | 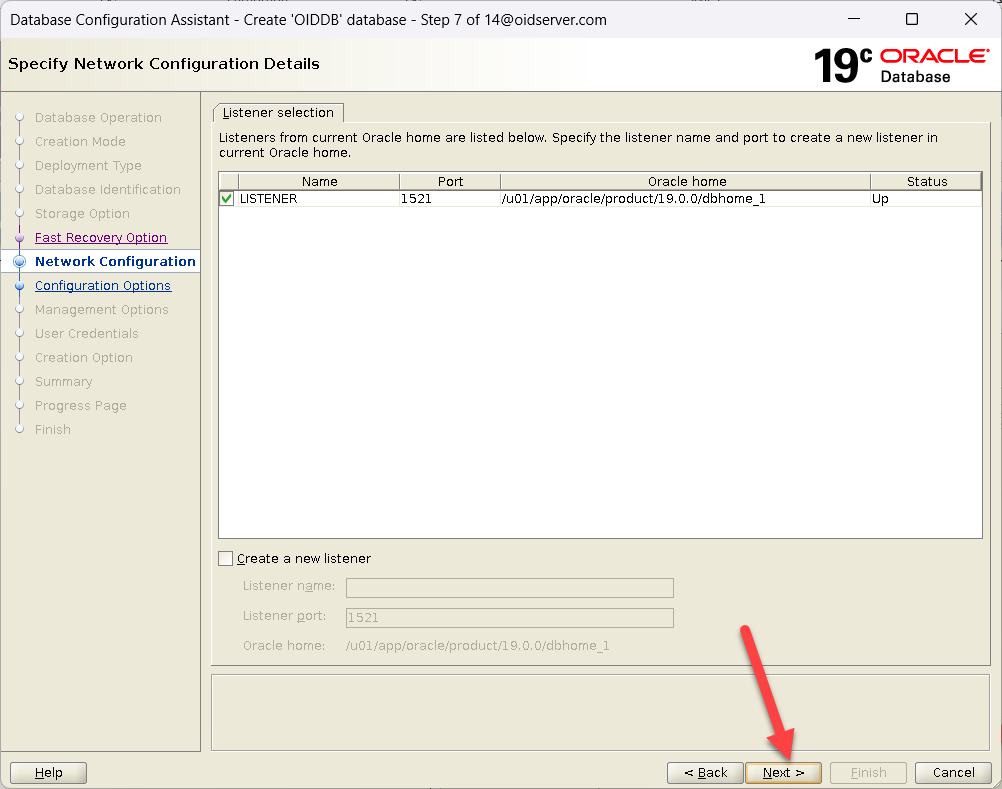 |
| Click Next | 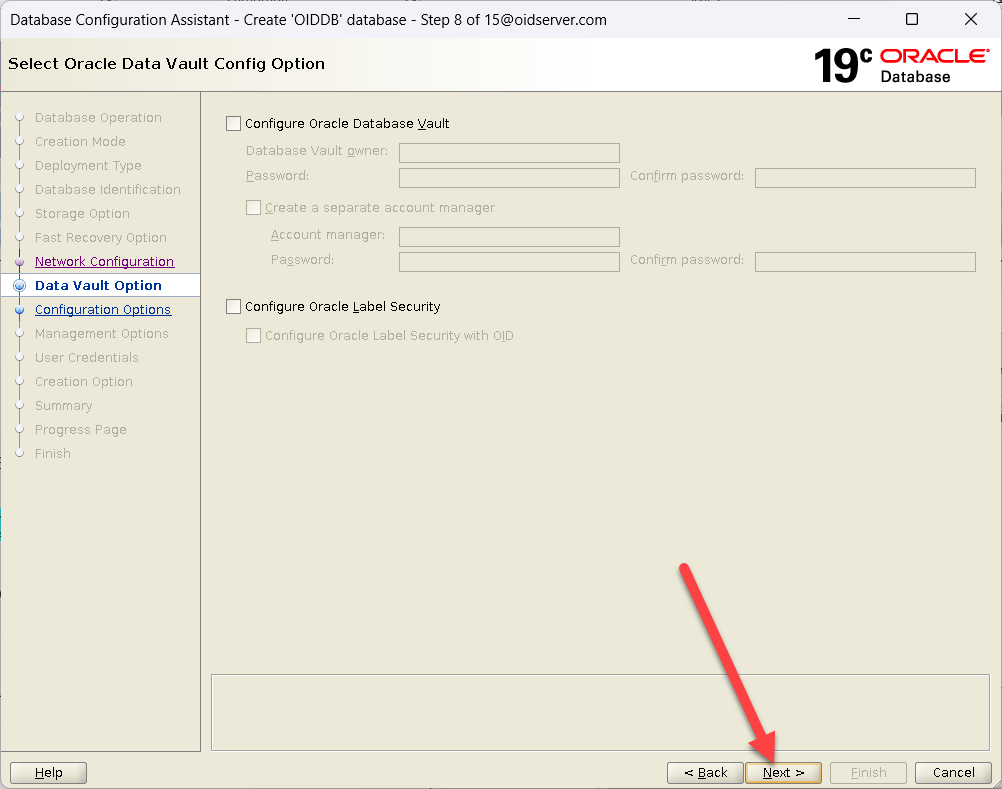 |
| Click Next | 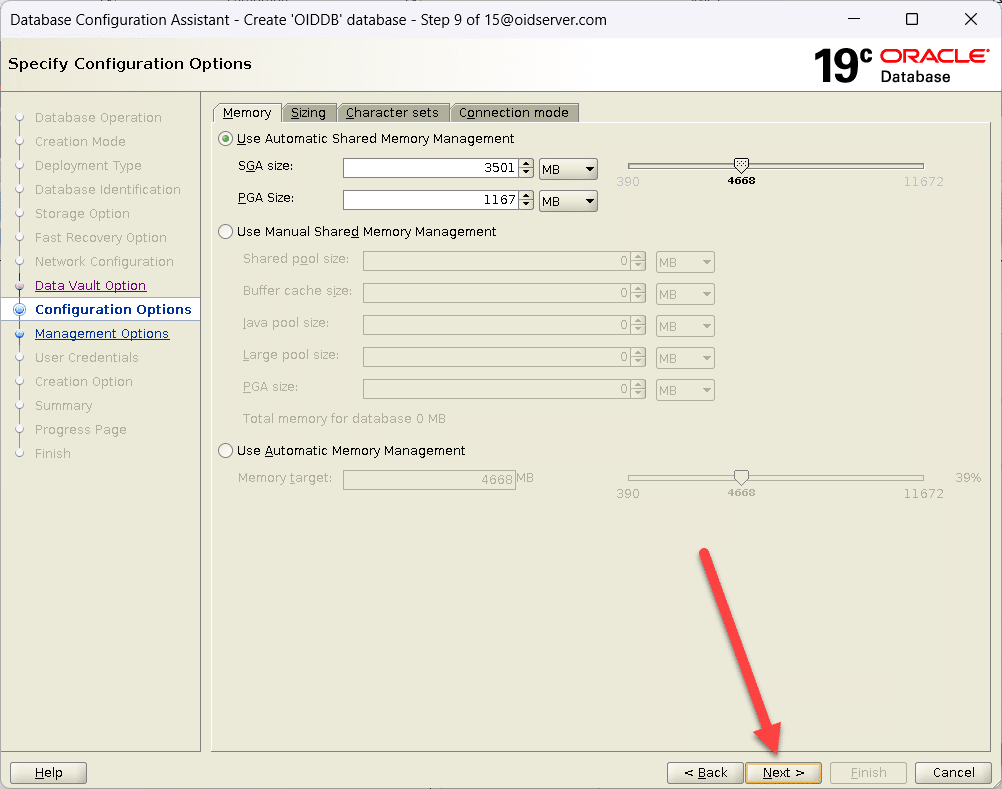 |
| Click Next | 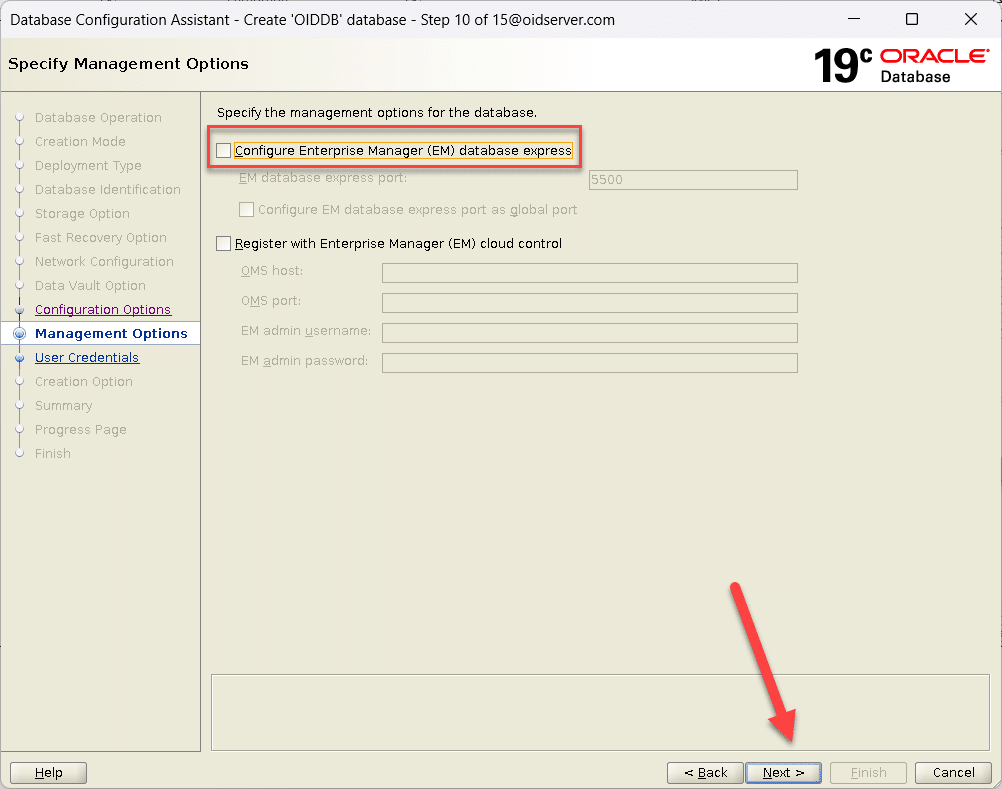 |
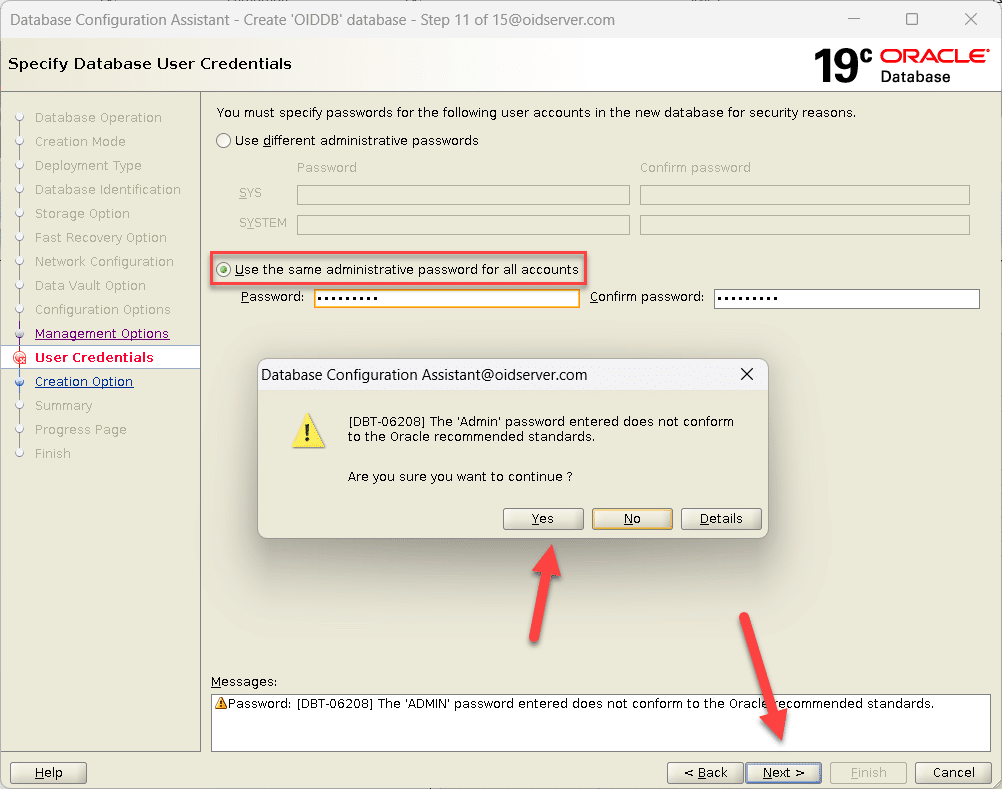
| We used the Same Password for all Administrative accounts.
Click Next |
 |
| Click Next | 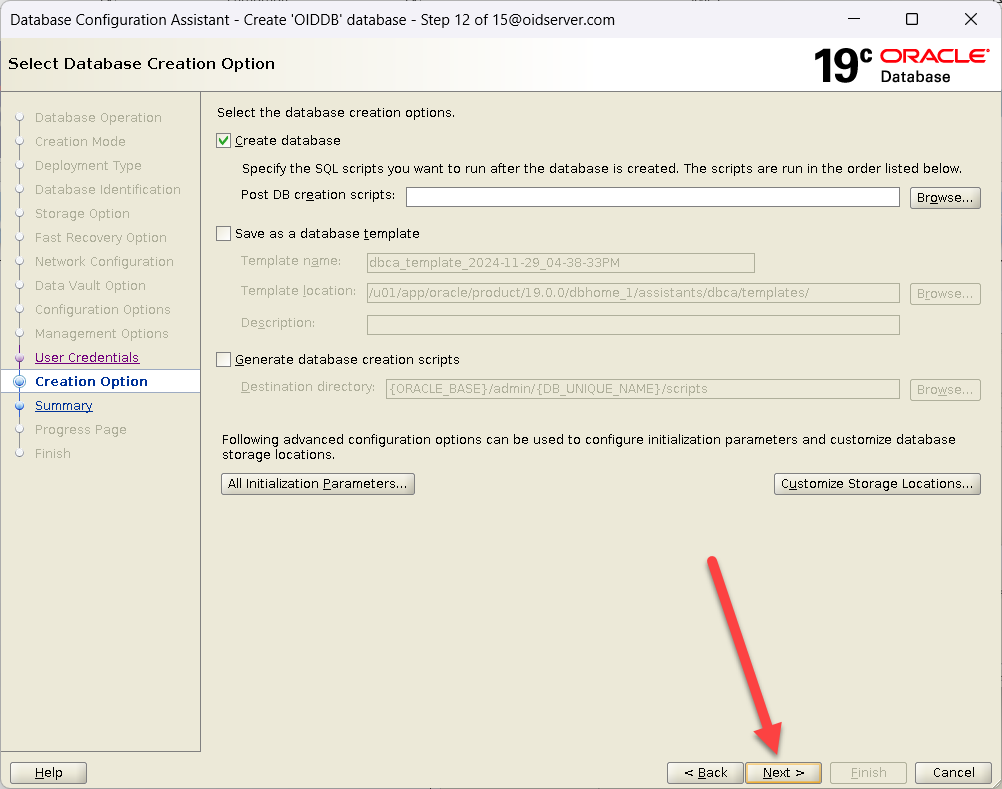 |
| Verify the settings on the Installation Summary screen.
To change entries, Click BACK to the pertinent screen. Once satisfied with the settings, click the Finish button to begin the installation. |
 |
| Database Creation Started | 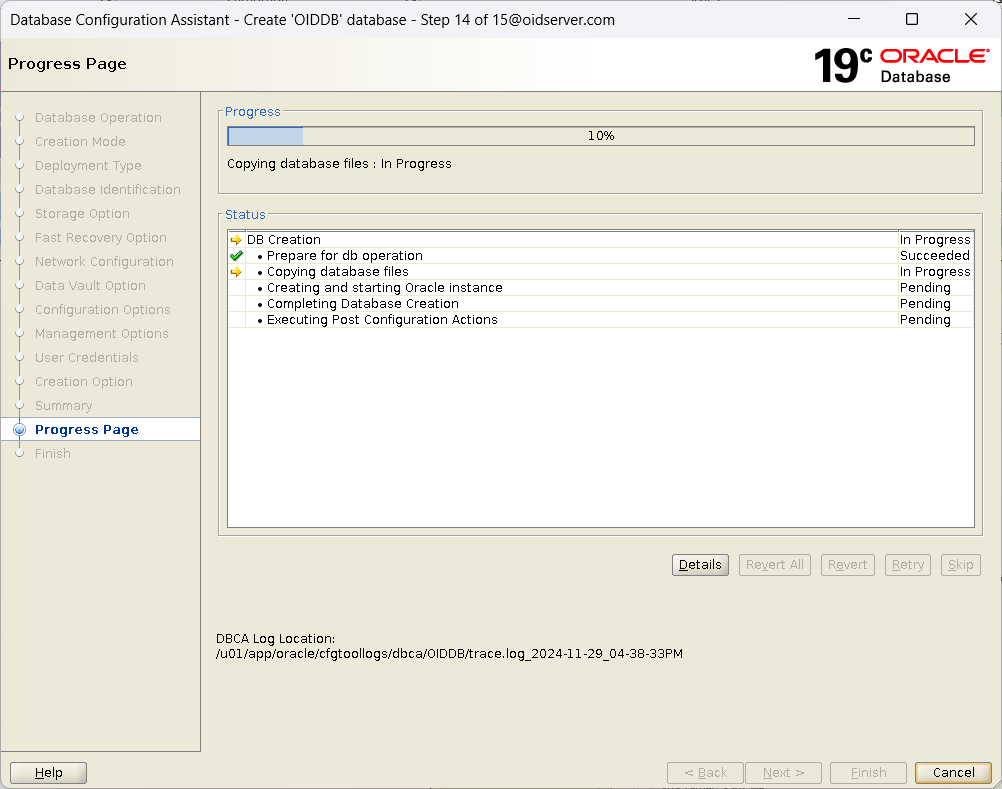 |
| Click Close | 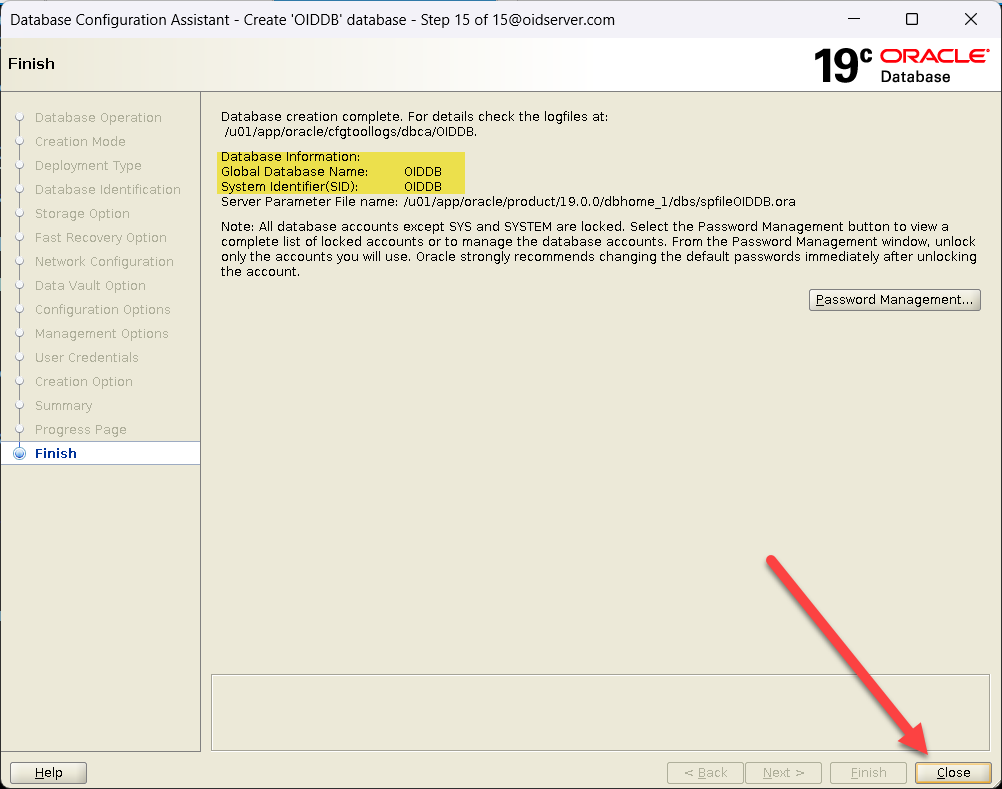 |
Alter Database Parameters |
|
| SQL> alter system set open_cursors=800 scope=both; SQL> alter system set processes=1000 scope=spfile; SQL> alter system set sessions=1000 scope=spfile; |
|
Hope you found this document informative and gained valuable insights.